2016-11-13

Team Yankee: Chieftain painting guide 2 (final steps)

Final result of the Chieftain Mk5with BAOR camouflage.


Here is the continue the painting of the Chieftain Mk5 painting guide for my coming BAOR force.
For previus steps see this bloog post: Team yankee chieftain painting guide 1

Step 9: Hand painting step, I used following colours for the painting:
Tracks -  Vallejo 70.836 London Grey
Rubber pads and road Wheels - Vallejo 70.980 Black green
Gun and vision slots - Vallejo 70.995 German grey
Heat cover on gun -  Vallejo 70.988 Khaki

This is all hand painting done, not very time consuming.


Step 10: I paint gloss varnish Before applying decals I also use Vallejo decal fixer after positioned the decals. Wait over night so the decals attach properly.

Step 11: Satin varnish with Air brush on complete tanks.

Step 12: Wash step, I use oil wash sins it´s cheap and effective. I use oil Paints from Winston newton. I make an mix with 30% Burnt Siena and 70% Payns grey and dilute it heavily with god quality thinner. Then do I cover the complete tank with the wash.
Wait for 15-20min
Then can I take an brush with some thinner and Clean the areas where the wash is to heavy or where I don´t want the wash.

Step 13: Mig Dark Mud wash on the tracks and other areas subjected to mud.

Step 14: Pigment, I make an mix of following Vallejo pigments:
  • 25% Burnt Umber
  • 25% Nature Siena
  • 50% Light Siena
I thin the mixture with thinner to an milky contens. I apply the mixture in the tracks and road wheels and bazooka covers. I let it dry for several hours. Then i brush of the excess pigments to create the amount of dirt I want.

Step 15: Final mat varnish coating with Vallejo 62.062 Matt Polyurethane varnish. The best matt varnish on the market according to me.

And here is the final resut:


2016-11-06

Team Yankee: Chieftain painting guide 1 (air brush step)

As I mentioned in previous post will i document my painting steps for the Chieftain tanks for Team Yankee. The models are assembled with plastic glue and look rely good. I paint the turret, body and the tracks seperat it´s easier to get coverage in all locations and ad the masking for the camouflage.

I use an Iwata Pro+ for the air brush painting and it works well for me. As with all airbrushes it´s important to clean and keep them in good condition. I usually clean my 3-4 time a year with ultrasonic cleaner + pro paint cleaning fluid. This helps to remove paint in areas that are not possible to reach with brush or cotton tip. 

I also use steel balls in my paints to get them mixed well in the bottle. It makes the paints survive for longer periods and will work better in the air brush.

Here is my painting steps.
Step 1: Priming I use Vallejo primer 73.612 straight from the bottle


Step 2: Dark base coat to get shadows. MIG 931. Important to cover all underside areas where you would get shadows.


Step 3:  Base coat. MIG 932. Even coverage on all parts. 


Step 4: High light 1. MIG 933. First high light. This is the time when you need to decide of how your high light should work. There are to options. Either normal zenitial lighting including panelling or colour modulation. I prefer colour modulation because the models get´s an more depth and especially when I paint 15mm models. But it also takes mode time sins you have to mask and paint each panel separate.  So this is the first result of the modulation cover 50-70% of the base coat.


Step 5: High light 2. MIG 934. Second high light same method as Setp 4 but only 20-30%


Step 6: Masking. I use normal blue tack to mask this hard edge camouflage.  It´s time consuming but gives an good result and sharp edge towards the base coat.

Step 7: Camouflage base. Valejo 72.751. Base coating of camouflage important to keep the airbrush 90deg towards the surface.

Step8: Camouflage high light. 50/50 mix of Valejo 72.751 and 72.749 and added some acrylic air brush thinner. Same panelling method but for the high light cover gradual to 50% of base coat.

This is the air brush steps. I like the result. The contrast between camo and base coat if nice but and will look good on the table.Next is to paint tracka and and add decals. More about that in next blogg post.


2016-10-20

Team Yankee: Iron Maiden has arrived

I have been intressted in Team Yankee for a while and I bought two starter boxes for the Americans. But it never took off at my gaming club.


But now with the Germans and Britts does it seam that it´s getting momentum. I took the bait for the brittish and bought to starter boxes :) The chieftains look to good to skip. It´s something with this tank that attracts me.

I am planning an force of mixed infantry and tanks. But it will probably be mainly inf ans support.
But the starter boxes are an good start to get the tanks and some transport helis. I will start put some paint on the Tanks when I have decided if I should use Stillbrew or not. I might build 7 with out and 3 with to be able to switch around.

I will create an separate painting thread for this project. They will be painted in similar fashion as my previous 6mm project: http://torbjorn-blom.blogspot.com/2013/12/british-6mm-cold-war-continues.html


2016-07-03

Star wars Armada: Tie fighter squadron painting guide

Hello all


I have finally got an proper game of Star wars Armada and what a game it is! The ships are beautiful and need no additional work but the squadrons looks pretty poor in comparison with the ships. But its easy to fix with a few hours at the painting table.

I search the internet and found that there is a few guides how to do this but I though I will show my way and colours because the look good and proper in my opinion.

Here is the result:


I will use a Tie Bomber for this step by step, but it´s valid for all tie fighters.

Colours I use:


Step 1:
Cover complete model with Vallejo 70990 Ligh Grey


Step 2:
Paint side "wings" with Vallejo 70995 German Grey
This is a bit time consuming, but it´s good to be detailed to get a good final result.


Step 3:
Cover complete model with Vallejo 76517 Wash for grey & dark vehicles. Take care that there is no pooling on flat surfaces. also no areas with out wash,


Step 4:
Dry brush edges and complete model with Vallejo 70990.
Rely quick step to clean and pick out details around window and side panels.


Step 5:
Last step, paint engines with Vallejo 70844 Deep sky blue.
Water paint a bit to make it easier to flow in to the engine space.


With this final step complete will the model be ready for play.
I will probably airbrush an thin dull coat to protect the models more but it´s not 100 necessary.

I will publish an short summery of my last game or the next game how knows. The only thing I know is that this is an really good game that I will try to play as much as possible.


2016-07-02

Frostgrave: Organised play supplements


Osprey publishing have been kind enough to support my gaming club with organised game supplements. These will be used for the upcoming campaign after the holidays. 

My thoughts on the supplements. They are made of thick good cardboard that should survive a campaign or two. The rooster is according the latest books and no special news here. But the best part I would say is the back side. Here is an cheat sheet will all the essential rules and reference to the page side in the book. 

I can not wait until we start. Only one problem need get painting my orcs and some other bits and pieces. I will keep you updated. 

Last but not least here are a few pics of the supplements. And thanks again osprey for the support. 


2016-06-23

YOKOHAMA Deluxe! by Hisashi Hayashi & TMG.


Now I know what I will play next year!


I could not withstand this great game with TMG which is an rely solid producer relaunch this to the world. This will replace some other trade/company builder games that I have.

Now I only have to wait for 8 months or so until I get it.

2016-06-22

Frostgrave: Orc Warband plan WIP

Frostgrave have sunken it's cold frosty teeth's in to my and I am hooked. For the first game did I use one of my first painted models just to try the rules and game play. I liked the experience but I am not happy with the look of my Warband.

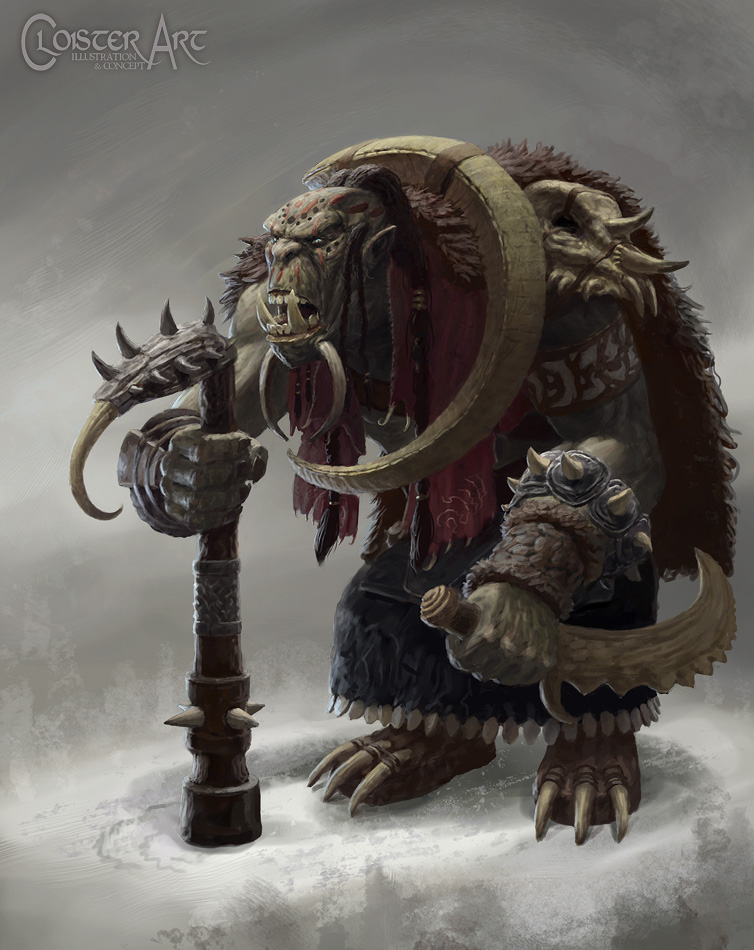
As all serious miniature players do I have an minor mountain of lead.  I went deep in to the mountain and found some old models from Rackham ( former producer of confrontation). These are perfect for Frostgrave in my opinion, big lumbering Mongol inspired orcs. I even had an wizard and his apprentice. To match this will my wizard be an Witch/Schaman to present the close to nature feel of the models. In the Confrontation fluff are the worshipping the great tree of life which I will continue as an them for the Warband.

I will present the rooster in next post. I am not 100% decided of the build yet.

Here are some WIP of these lovely models.


2016-05-09

Frostgrave: First battle and thoughts

I have also jumped on the new bandwagon for Frostgrave and I have to admit that it´s a fun little game. Their are flaws in the rulebook composition, it feels a bit old some times. Also some cheat sheets are needed to get the game speed up. But people how liked Necromunda will love this game.

Their is an large amount of luck involved sins you only role one dice for hit and damage and there is no way as I know it to make rerolls. But it´s part of the game and you have to accept it. If you like games that are less luck involved play Warmachine or similar games. This game is all about the narrative game play and have levelling of your Wizards. Also a good mechanic is how it handles the ganging up on foes, you get +1 bonus on your dice roll. Simple and fast way to handle this. Shooting is powerful but you should have plenty off terrain to hide behind. But if you don´t whatch you can your wizard be one shooted.
The down side, the campaign system do not handle the difference between a high level warband and a new one. But this you can fix with some minor of the system, like giving rerolls/certain amount of difference in levels or give gold/exp to the lower level warband. At my club will we start an campaign after the summer holiday and include some kind of level difference system.

So how was my first game?
We played the Genie in a bottle scenario.
My opponent hade a level 6 warband with several magical items so there was uphill battle for me.
I did some mistakes when I built the list, I included to few low tier minions to grab the treasure. But I managed to grabb 3 treasures any way.
Luckily did I not get the Genie because I could have have damaged it at all sins I don´t have any magical items yet. But my opponent slayed the genie and got 300 gold and 200 exp for it. So he clearly won this game.
We played for about 1,5 hours and this was an complete game and I was not fast sins it was my first game of Frostgrave. I had a nice smile after the game it was rewarding even if I loosed the game.

Here are some pictures of the game:
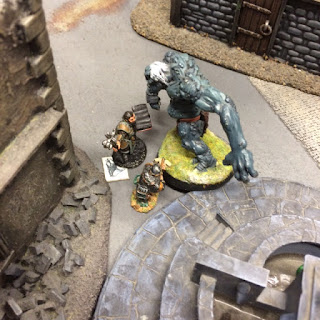
(I am very happy that my gaming club have all these nice scenery to use for these typs of games.)


2016-04-27

Saga: Crescent and the Cross Milites Christi Warband WIP 2

Back again with an short updated off my progress with the Milites Christi warband. The Knights are close to finished some minor basing details left.

I have realised how hard it is to paint large black cloth area. Especially the horse barding was hard to get nice. But overall am I pleased with the result. I used more decals from battle flags for the shield markings and the markings on the chests and mantels.

Here are the some pictures:


Next up is the crossbow men and foot soldiers. I am thinking about doing a short description when I paint the foot soldiers of my but I have not decided yet. The future will tell.

2016-04-12

Saga: Crescent and the Cross Milites Christi Warband WIP 1

I have continued painting on my Milites Christi Warband. Progress so far is all models are primed grey and painted black.

Horse are finished for the Templar Knights and the leader.
Decals are applied for the horse barding and I am pleased with the result, hard o get a good fit with the large decals on the curved surface. But I am like the decals from Battle flag. They are printed with very high detail. Only flaw is that I chose a black the for my army because the decals should be applied over white background.


Next step is to paint the knight models. Then continue with the infanteri teams to support the knights.

Happy gaming until next time! 

2016-04-06

Saga: Cresent and the Cross Milites Christi Warband

Hello all. Back to more modelling again and new rules system.


I have had a few demo games and trial games of Saga and found this system to be easy and elegant. And I am not afraid to jump in to a new rules system. I have scanned the net and look at the different force available. I realised that the latest book and rules released by Studio Tomahawk was the most interesting for me. Then was the choice quit easy, how don´t like knights with high moral values and think the are above everyone next go GOD him self. Milite Christi warband is collection for all the knightly orders at the holy land.

My planed force
4pts:
4 Milites Christi Brothers (Mounted Hearthguard)
8 Milites Christi Sergeants (Warriors on foot)
8 Milites Christi Sergeants with Crossbow ( Warriors on foot)

Now I have chosen a force, next step models. I am not fond of 28mm horse in metal because they are so top heavy. There are a few companies that make plastic but the most reason one is Fireforge Games. They have their on game system Deus Vult and a 28mm miniature line for this game that would suit my needs.
Current status assembled and primed, I also have unassembled models for additional 8 footmen and 16 knights.


Next step is to air brush the horse and paint them black. I will paint them black with white cross version. This is my inspiration.

I will keep you posted for further progress.

LinkWithin

Related Posts Plugin for WordPress, Blogger...